Change the font, colour and position of text labels in draw.io
While the dream of drawing technical diagrams is to be able to understand them with very little text, labels on shapes and connectors add essential descriptive elements. There are many ways to style text in draw.io - you can even use multiple styles in one label.
Add and select label text
Select a shape or connector and start typing to add a label. Select a shape or connector with a label or a text shape and start typing to replace the existing text with whatever you type.
When you highlight some or all the text within the label, rather than just selecting the shape or connector, additional text style options will be available in the Text tab of the format panel.
Tip: If you don't see the format panel, press Ctrl+Shift+P on Windows, or Cmd+Shift+P on macOS.
Change the font, size, colour & style of text
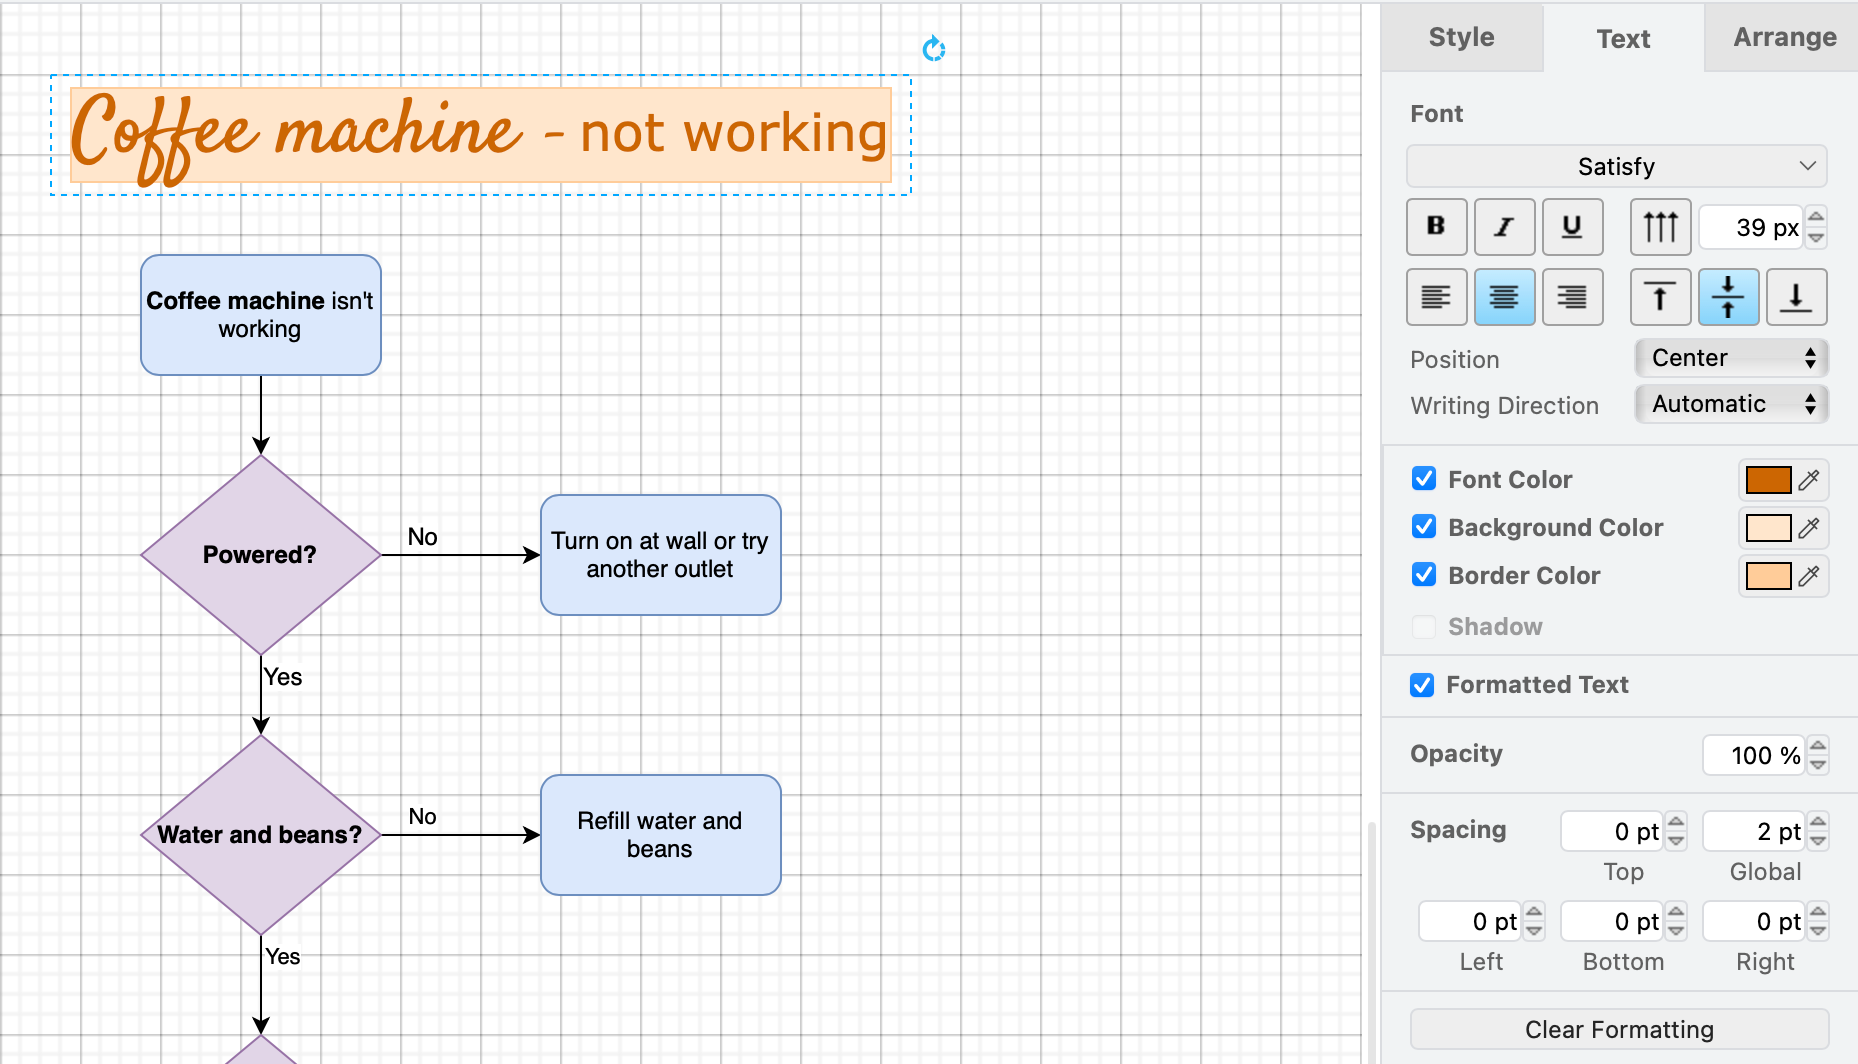
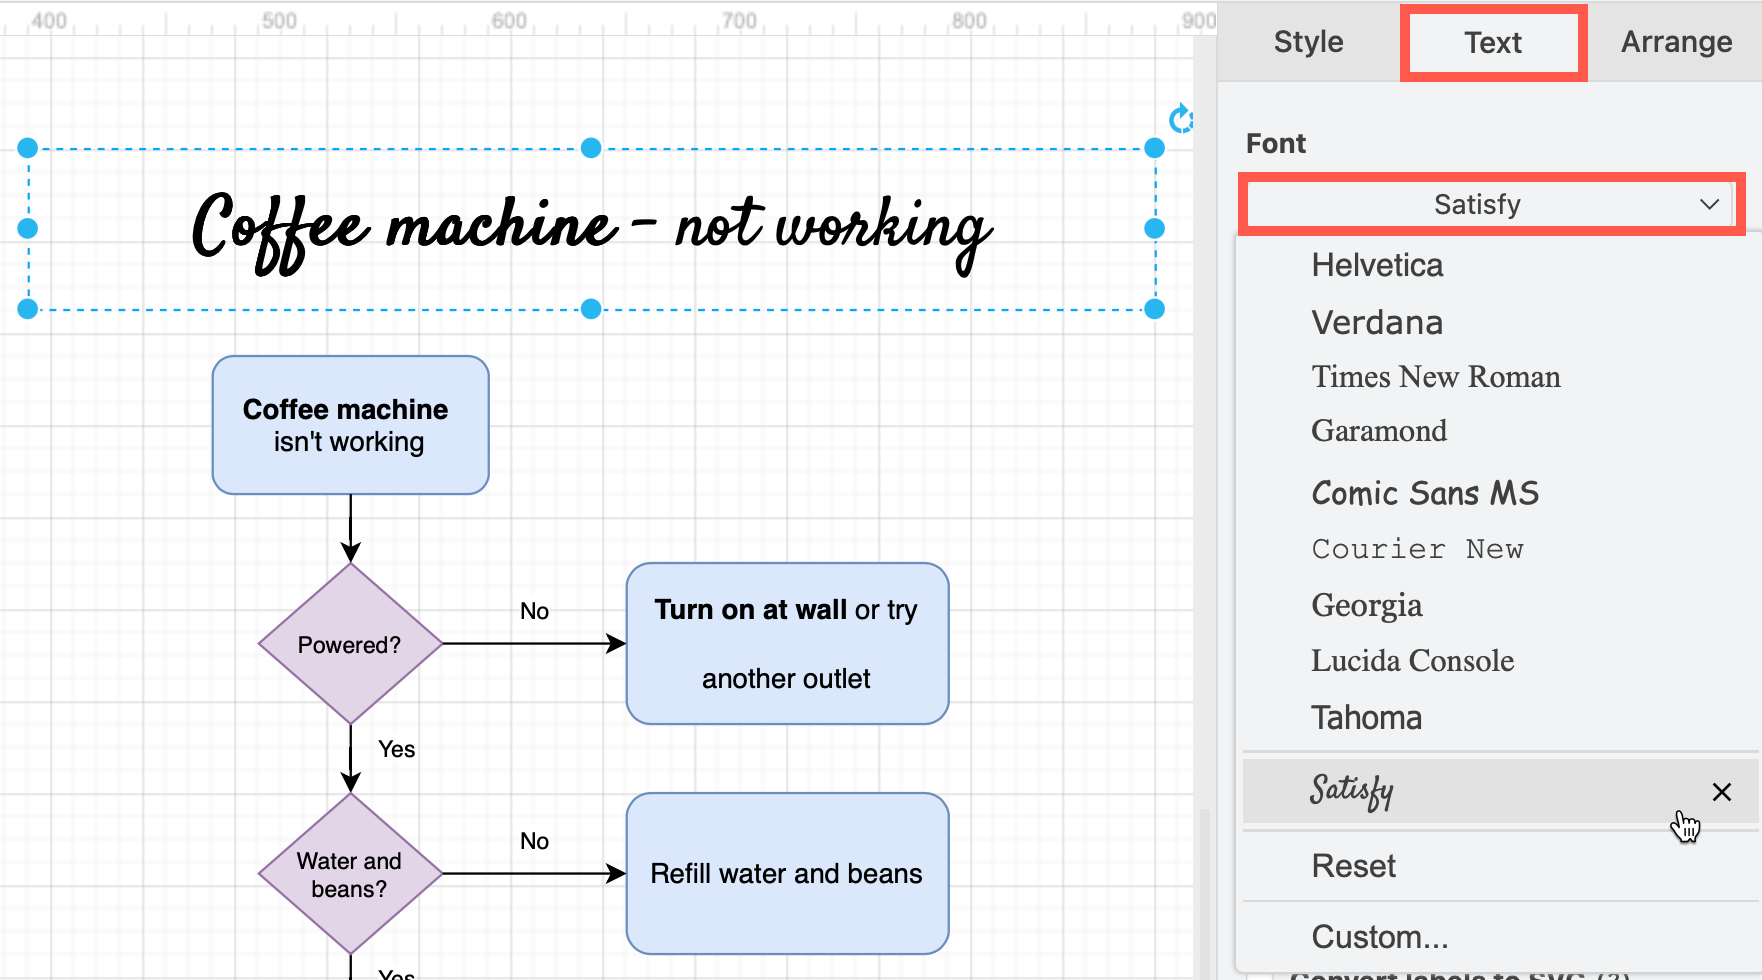
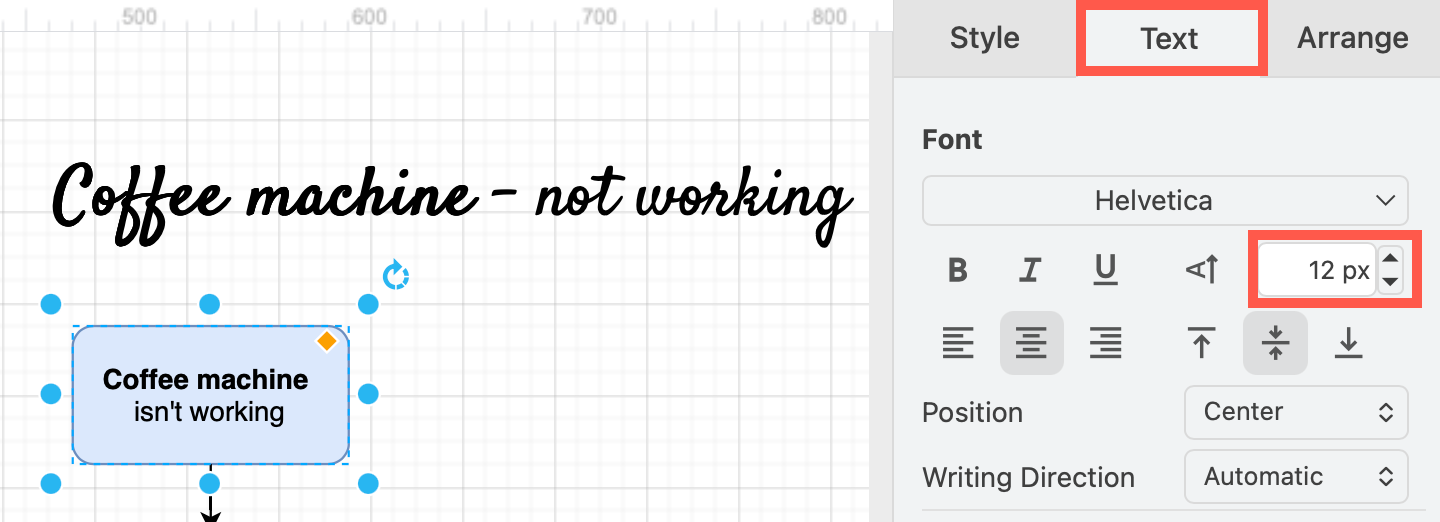
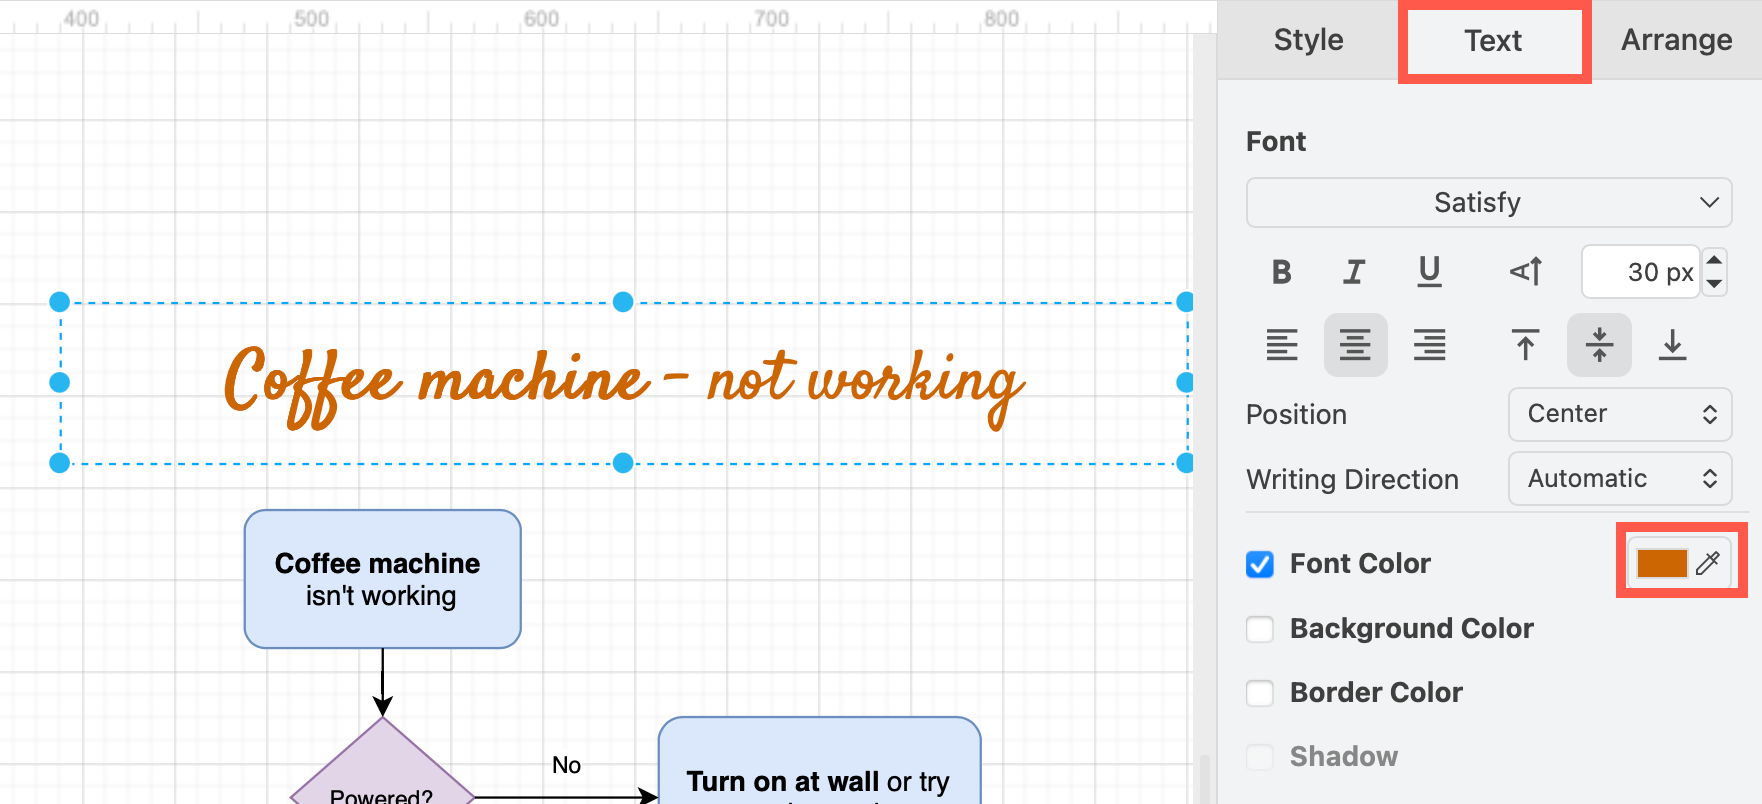
Select the shapes, connectors and/or text shapes you want to format, then go to the Text tab of the format panel and change their style.
- Font - Select a different font from the dropdown list, or use a Google or custom web font.
- Size - Use the arrows to increase/decrease the font size. Alternatively, select the shape or label and press Ctrl+Shift +/- (Numpad) to increase or decrease the text size.
- Font Color - Click on the colour button to open the palette and set a new font colour.
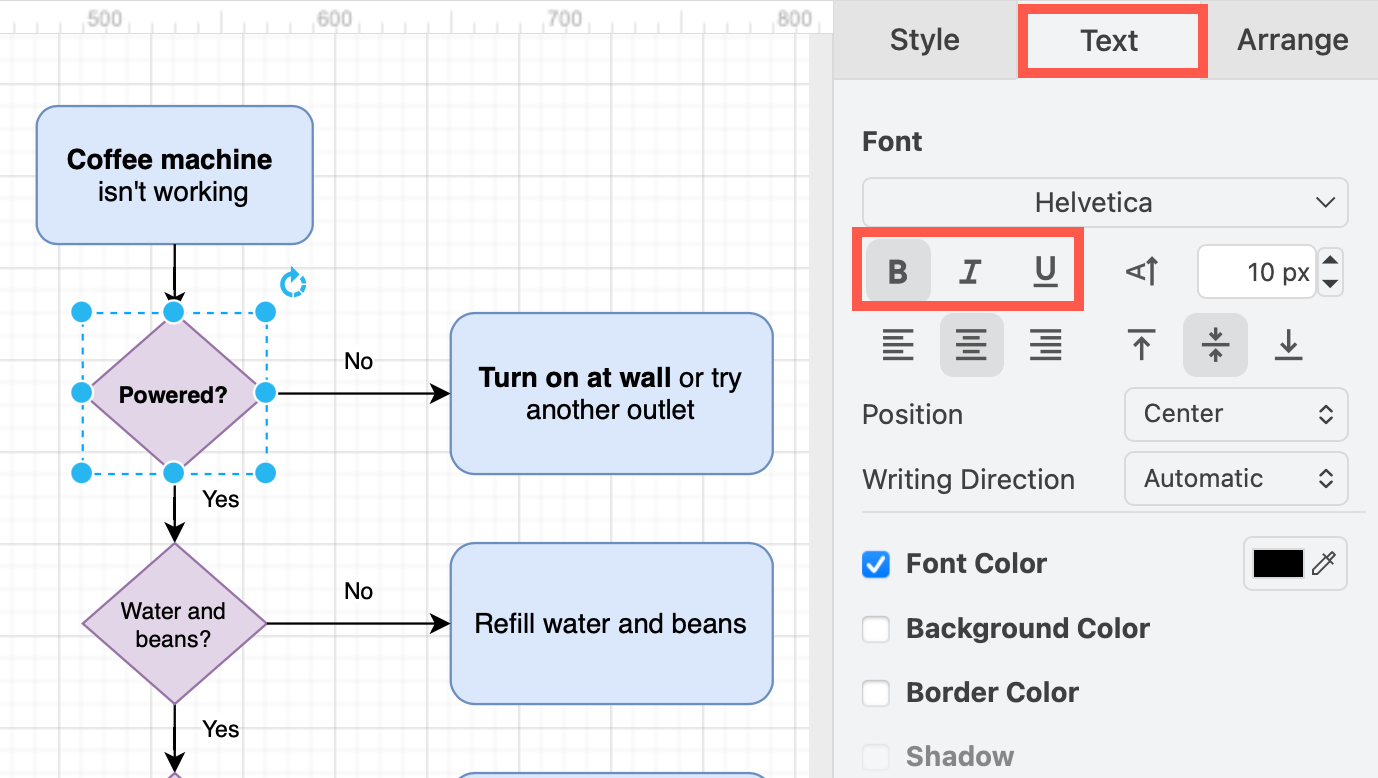
- Bold, Italic and Underline - Click on one or more of these buttons to style the selected text.
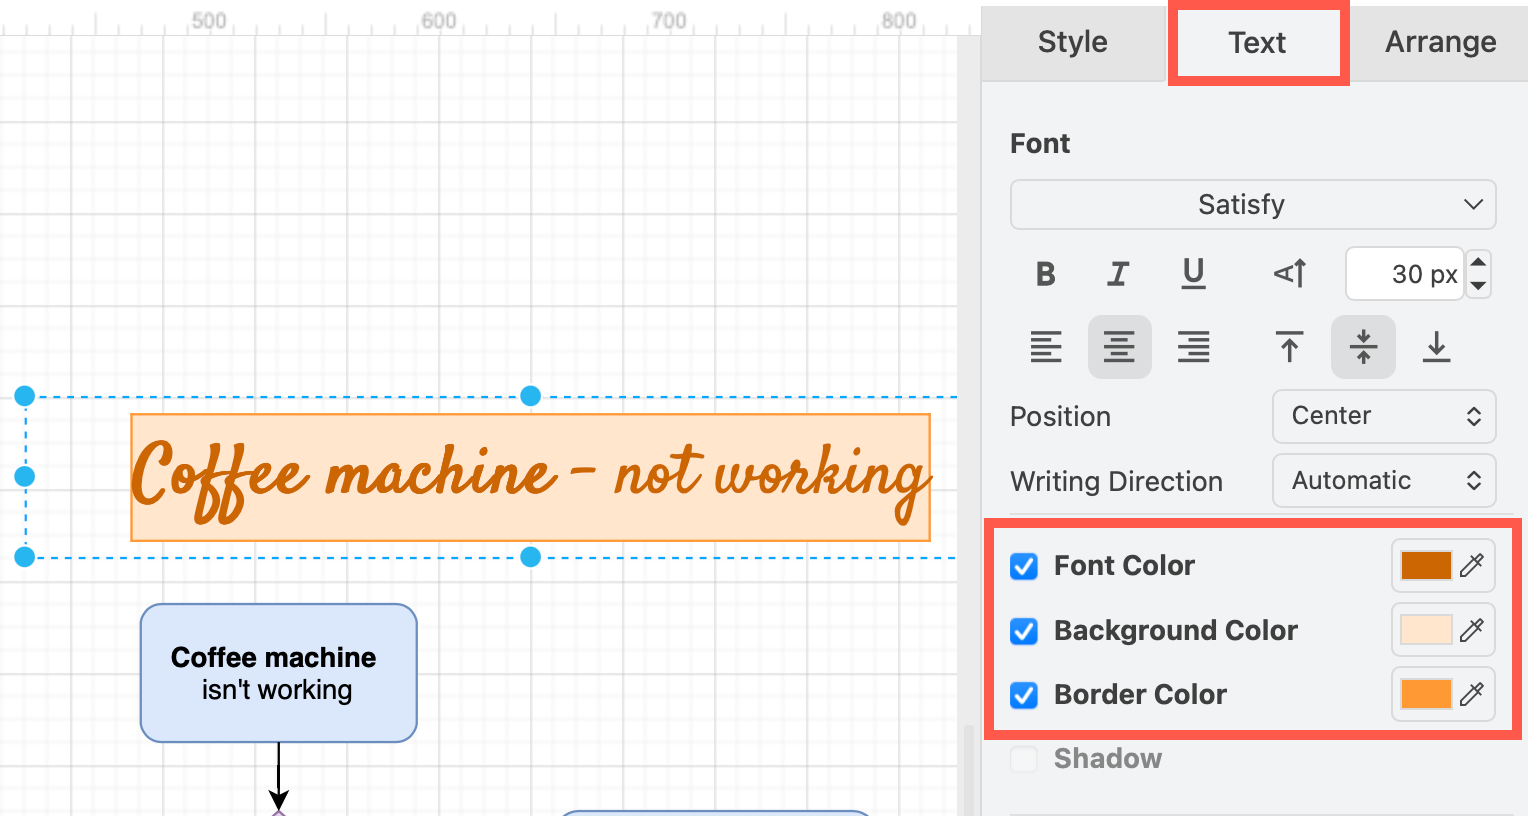
Add a background and border around the text by enabling the Background Color and Border Color checkboxes. This will override the Fill colour of the shape directly under the label text.
Refer to the text styles documentation to see how to edit the HTML tags and styles directly, change the line height, opacity, and more.
Change the position of a shape text label
Horizontal alignment: Click on Right, Center or Left just as you would in a word processor app.
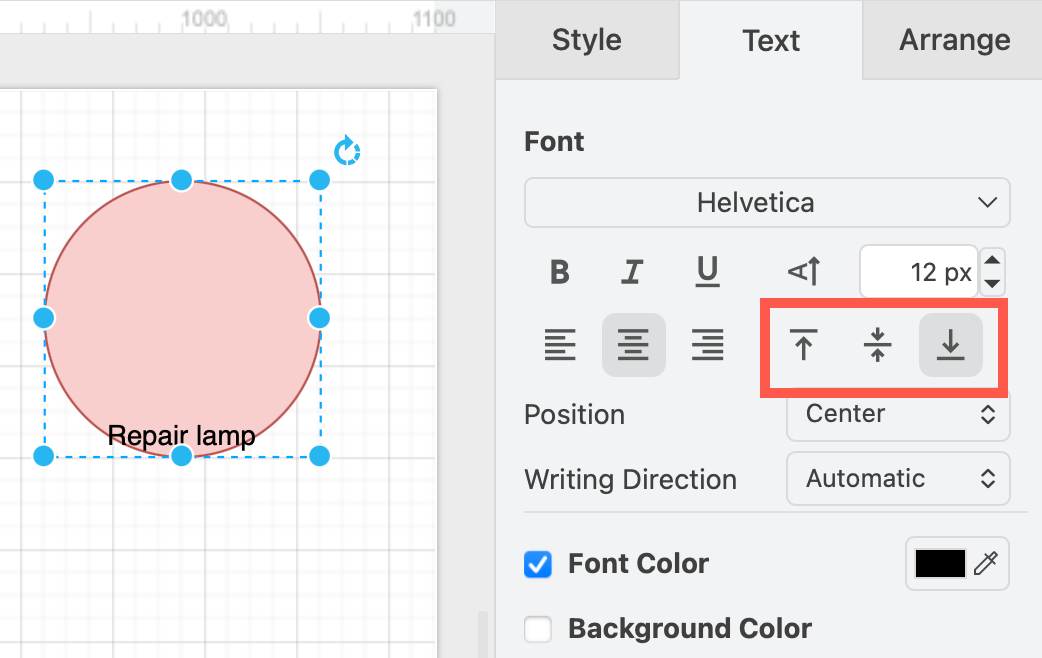
Vertical alignment: Click on Top, Middle or Bottom to move the label around inside the shape.

You can also select a different Position from the dropdown list and change the Spacing values to reposition labels in and around their shapes. And you can change the writing direction to vertical or right-to-left text if you need to use Japanese, Chinese, Korean or Arabic.
Related
- Enable mathematical typesetting to use LaTeX or AsciiMath.
- Select some of the text in a label and click on superscript or subscript.
- To add a line break to some text, press
Shift+Enteras you type. If you can't enter a line break, re-enable HTML labels and word wrap.